Your cart is currently empty!
Let’s draw/learn together-horse
My friend Carol is interested in colored pencil and wanted to know if i could teach a class. I’m still learning myself, so let’s learn together! I’ll try and take step by step photos so you can see what I’m doing.
Step 1:

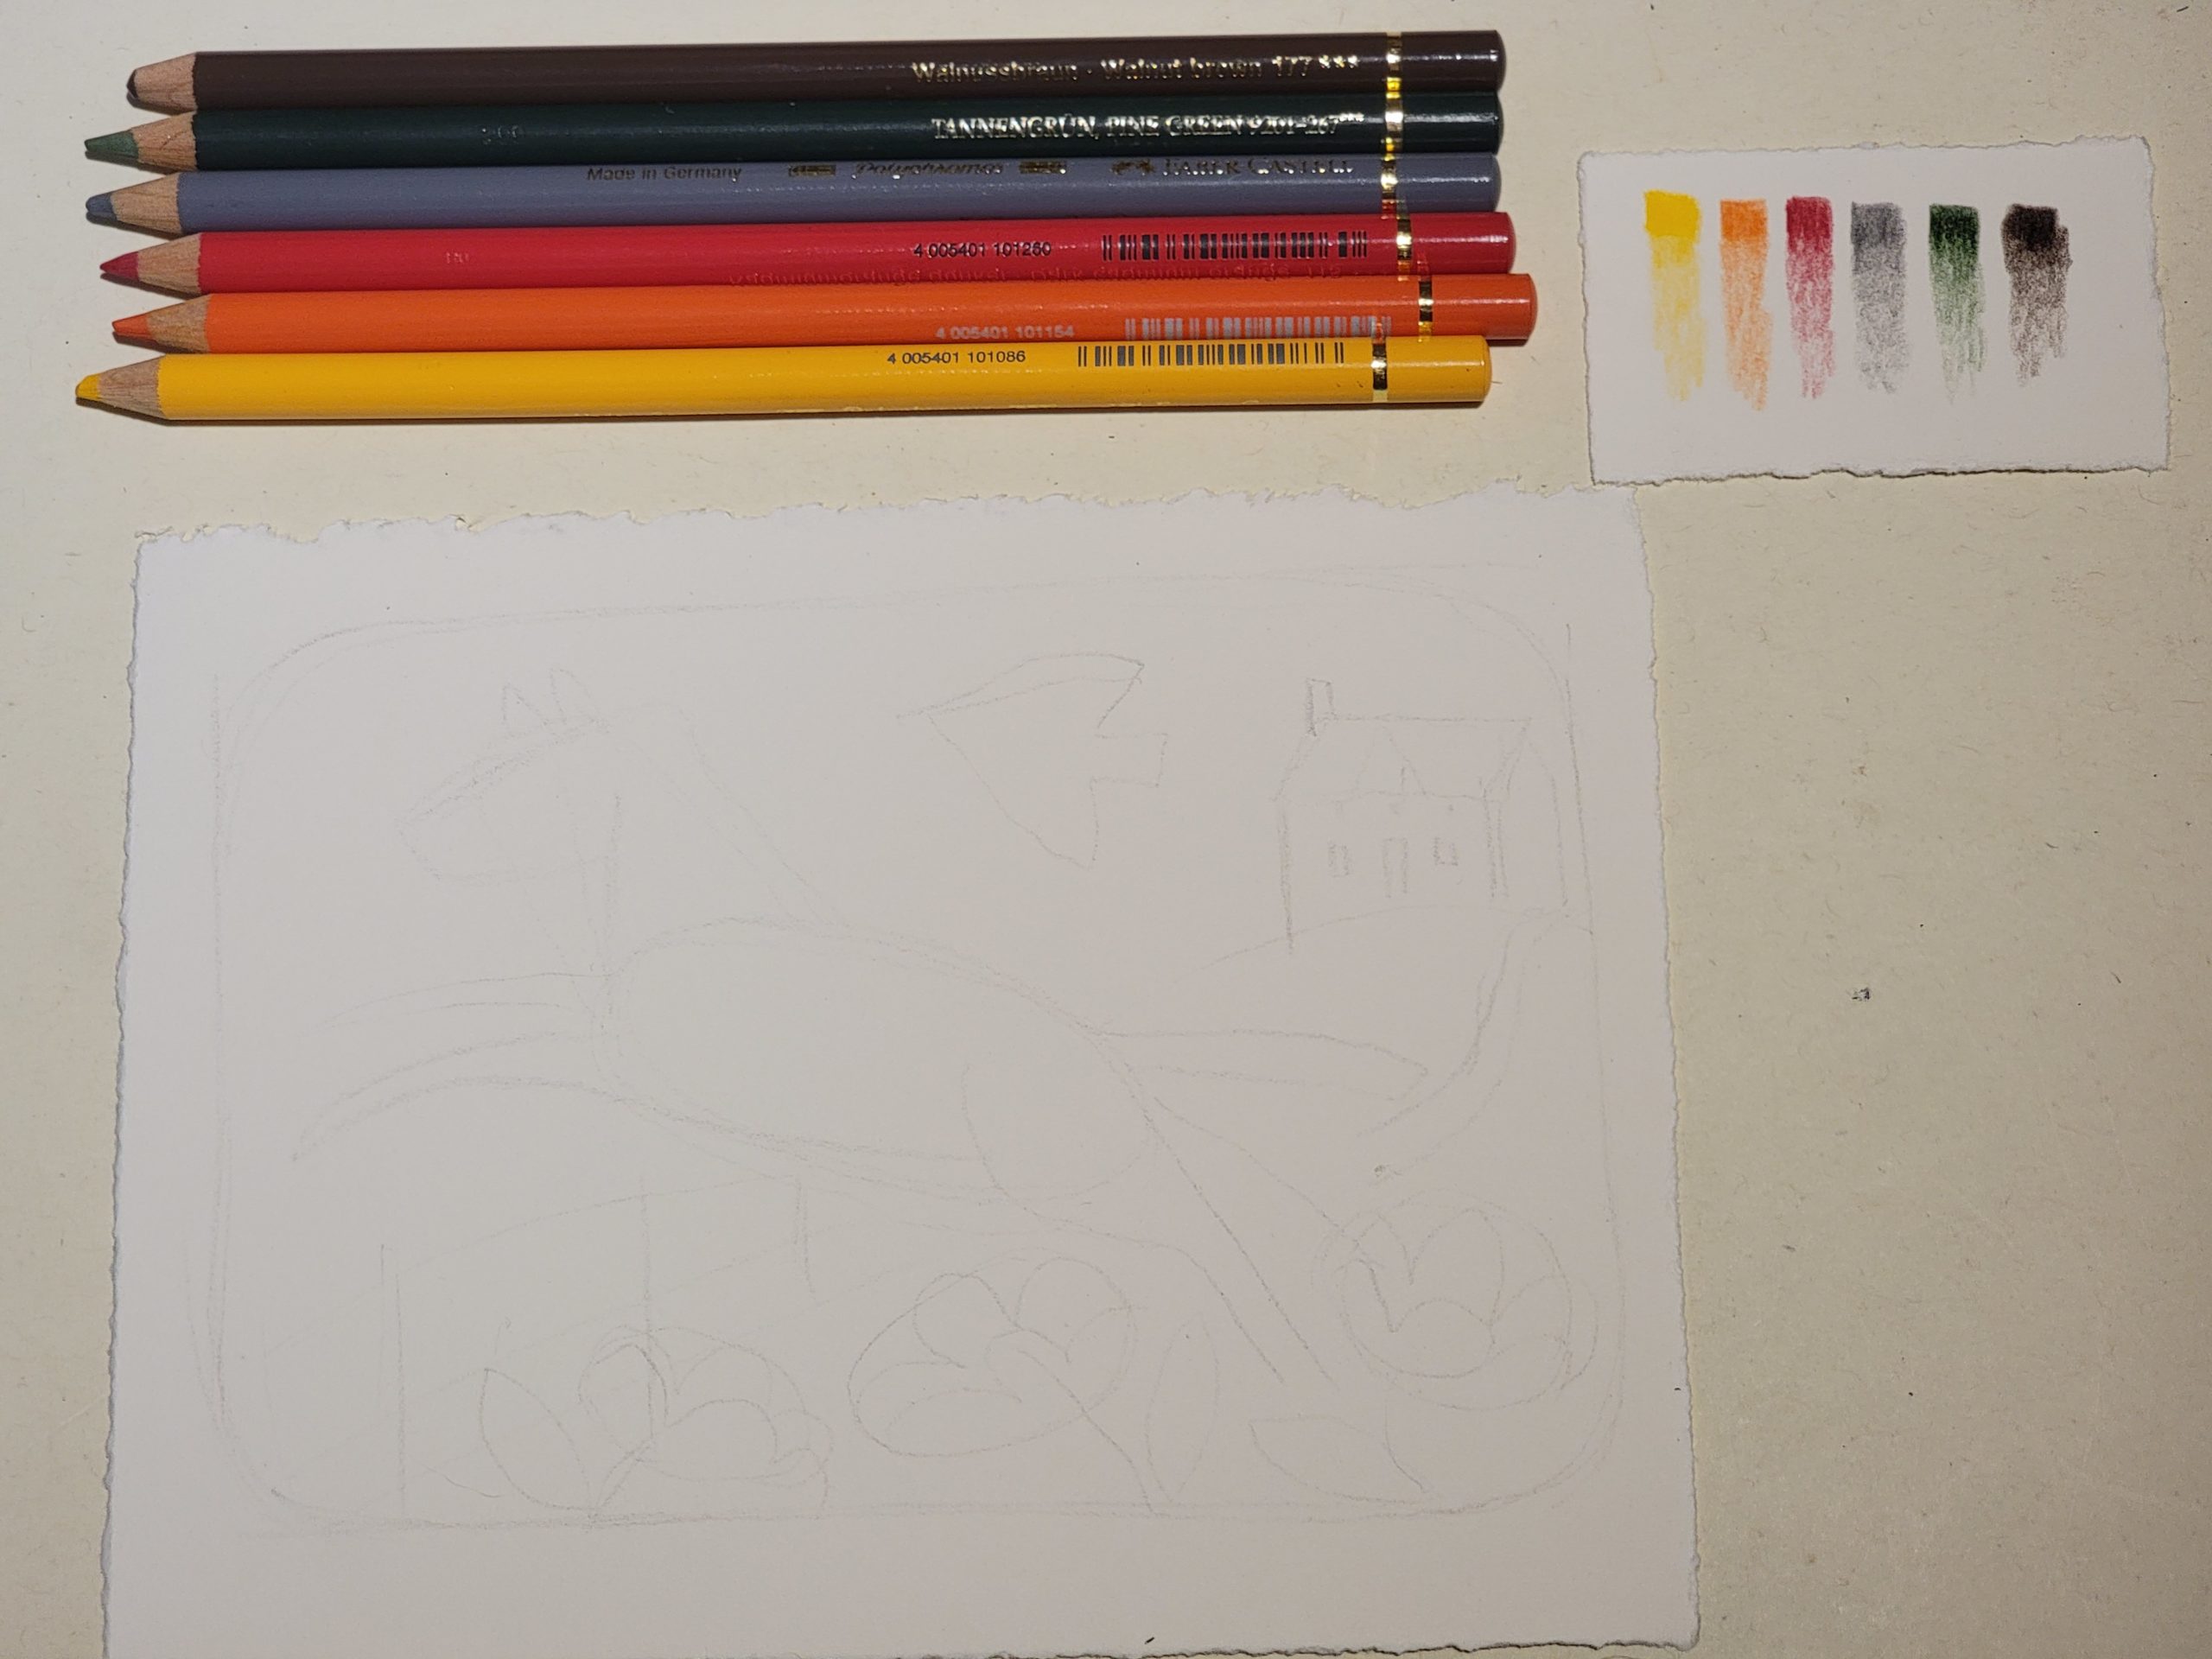
I have picked a palette of 6 Faber Castell Polychromos:
- Dark Cadmium Yellow 108
- Dark Cadmium Orange 115
- Permanent Carmine 125
- Cold Grey IV 233
- Pine Green 9201-267
- Walnut brown 177
I used the cold grey to *lightly* draw my design on a 5×7″ sheet of Stonehenge paper
Step 2:

I’m using a color palette that is a little bit out of my comfort zone (red hot colors!!) In the past, i started laying in colors at this point, but I’m using the Walnut Brown 177 to establish my darks and lights a little bit better, before i start to make color choices.
I just discovered that colored pencils are ERASABLE!!! So i also cleaned up some of my light sketch marks.
Now that I’ve decided where everything is going to be, i used a stylus to ‘cut’ into the paper. because cotton is a soft paper, i’ll be able to draw over those marks without color getting into the marks made by the stylus.
Ok, next step is to start making color decisions!
Step 3:

I’m starting to lay colors down and get a feel for how they interact. Red is such a powerful color, I’m trying to see what it does without overpowering the color harmony. My idea was to make an autumn, brown fields feel to the drawing. I wish I had picked a yellow ochre, but I’m going to stick to my choices and hopefully get a nice tan for the horse—by blending.
I’ll lightly shade one color, and then another color on top…for example the red roof of the house is a combination of red and walnut. The shady side of the house a combination of green and grey. I pressed hard with the cadmium yellow…to see how strong the pigment look—and to bring out the white bird.
I’m just learning and don’t have a lot of confidence with these materials or color scheme, but will keep laying colors down until there’s at least some base color everywhere on the paper
Step 4:

Well, I’m used to painting, where it’s easy to slap a lot of paint all over the canvas and cover everything quickly. Colored pencils don’t want to do that…they seem to want me to take my time and develop my colors…blending colors into one another. it turns out that bringing some red and green into the dark parts of my horse give m a much richer dark (basic color theory—i should have known that!)
Speaking of color theory, now that it’s coming together, i FINALLY have some confidence in my color choices…it’s going to work!
Instead of thinking of a brand new design, I took a theme that i’ve repeated over and over with pottery decorations, so I can get down to the drawing part. On pots, it was a spring /summer pattern, i didn’t think how funny it would be to have flowers in a fall scene. BUT IF YOU LIVE IN KENTUCKY, you KNOW we experience all 4 seasons—sometimes all 4 in one week! lol.Now i’m going to keep on building colors—might have color on all the paper next time i check in!
Step 5:

I have colors everywhere except for the flowers.
I know it’s popular to do a lot of blending with colored pencils (because they are SO good at it), but I don’t think i’m a blender. I really like being able to see that it is a drawing-with rough pencil marks. I feel like it gives the work some energy-like the chatter in a woodcut, or the impasto in an oil painting.
The horse needs some work. I think i’m going to use the stylus to dig into the paper a little bit and give a fur texture as i keep building. Hopefully as i continue to build the flower area, the fence will pop out a little more.
OK, going to dive back in!!!
Step 6:

Well, that was fun!!!
I learned a lot, and hopefully some of you did too!
With each drawing, i’m getting a better idea of what colored pencils will do, and how i can adapt it to my style—what I want to say with my art! Thanks for keeping me company! Hope you all enjoy the rest of your weekend!
step 7

for better or worse , i decided to add stars, and a suggestion of a mouth to make the horse look like its smiling. Ok, time to leave it alone, lol!
Leave a Reply